# RTM
This section aims to explain how to set up armature animations for [export to RTM](https://mrcmodding.gitbook.io/arma-3-object-builder/export/rtm).
***
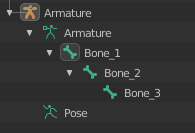
## Armature
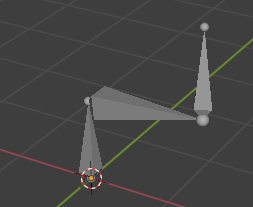
An armature must have at least 1 bone to allow an RTM export.
***
## Properties
The properties for RTM animations are stored in animation action data blocks. For more information, see the [RTM properties](https://mrcmodding.gitbook.io/arma-3-object-builder/properties/rtm) page.

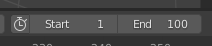
The frame list can be used to mark specific frames to be sampled during RTM export. The list displays the timeline index of the frame, and the phase value relative to the render range set in the timeline.
Frames can be added one by one manually, or in batch with the Add Frame Range operator.
When creating movement animations, it might be needed add footstep sound marks in the RTM. This can be done through the properties list.